
Basic FarmHQ Device Installation
Most FarmHQ installations take only basic hand tools. This guide walks through each connection on the device: antennas, harness, power, pressure transducer, speed sensor, speed reference and switch cable.
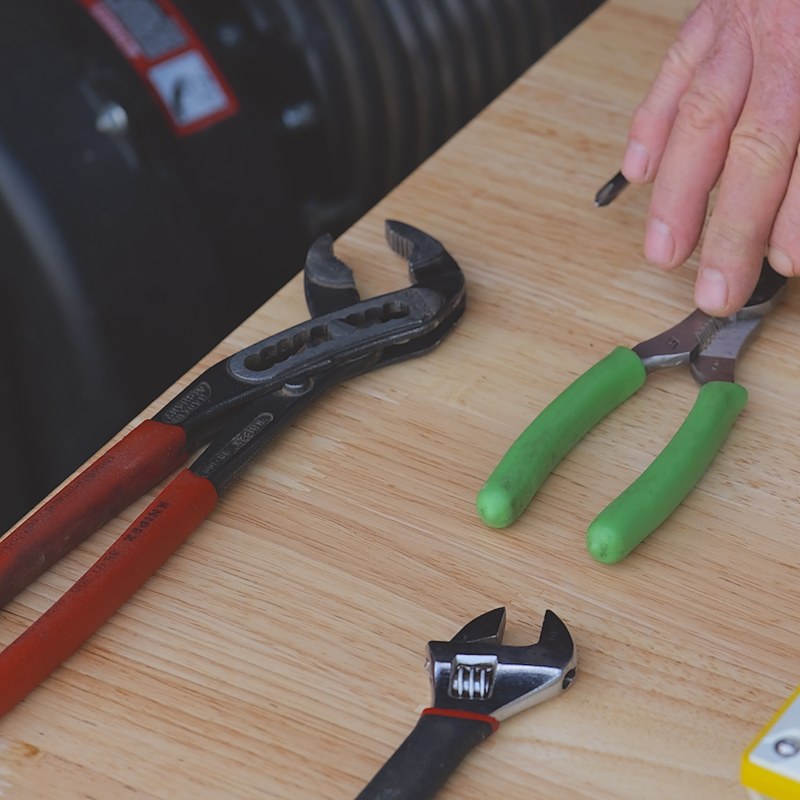
Tools you'll need
- Screwdrivers
- Electrical pliers
- Slip-joint pliers
- Crescent wrench
Antennas
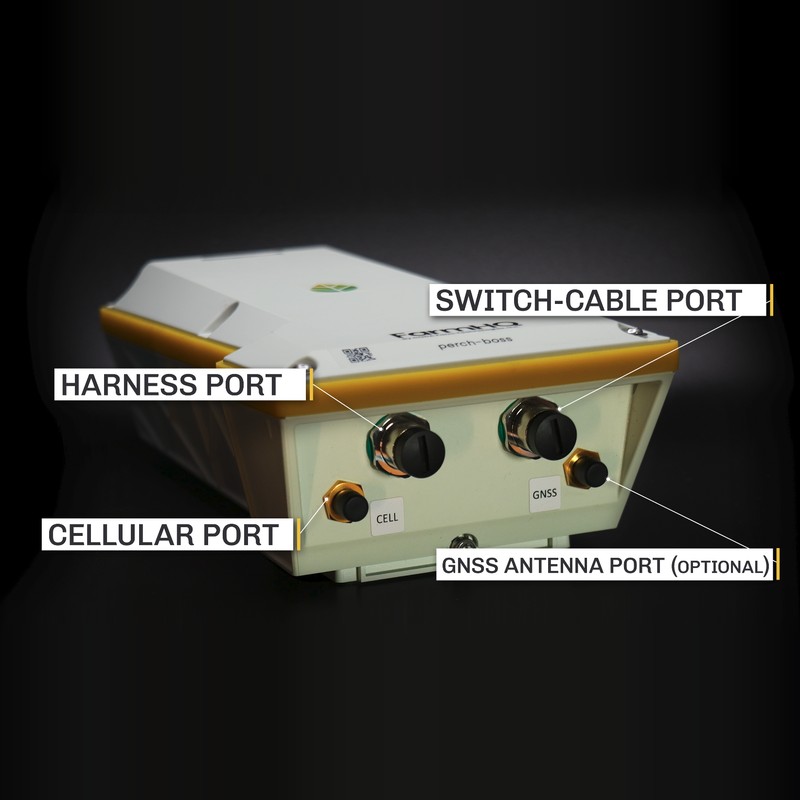
On the bottom of the device you'll find four ports: the cellular port, the GNSS port, the harness port, and the switch cable port. Start with the cellular antenna.
- Locate the ports.Cellular, GNSS, harness, and switch cable ports are on the bottom of the device.
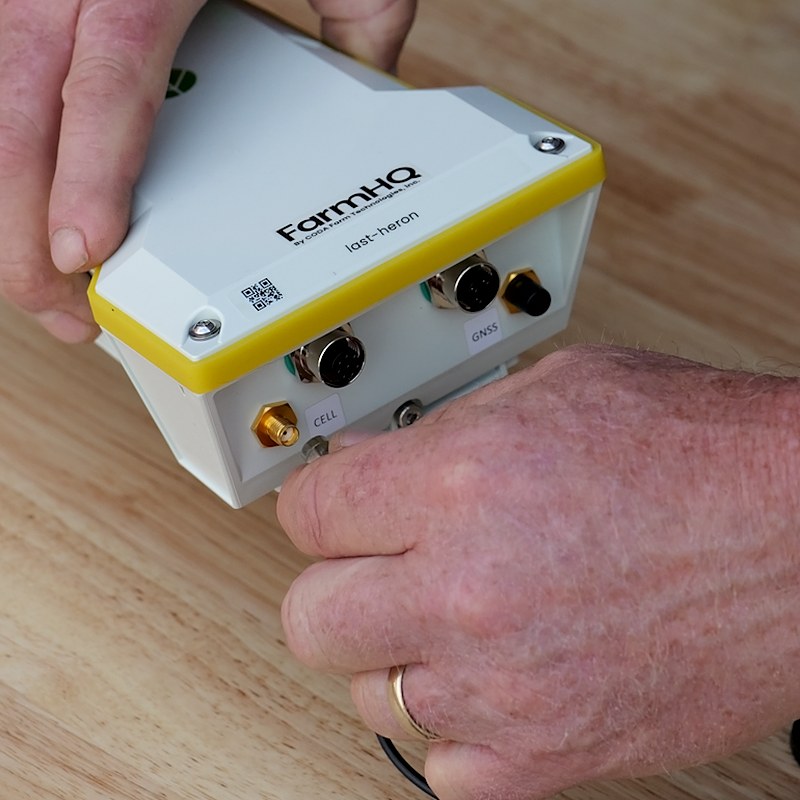
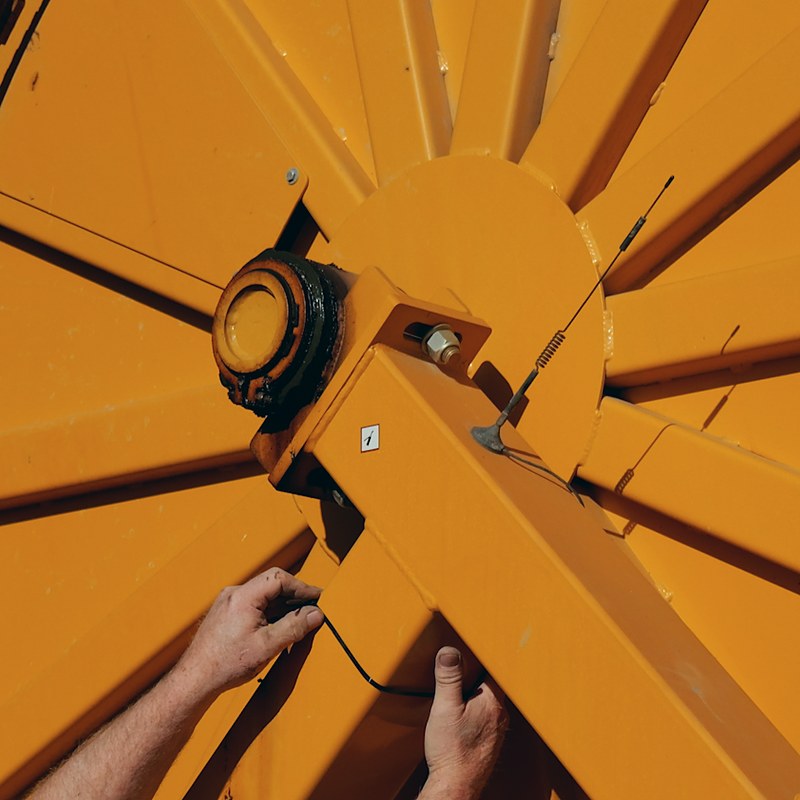
- Attach the cellular antenna.Screw the cellular antenna into the cellular port.
- Install the antenna in the appropriate place.
Harness
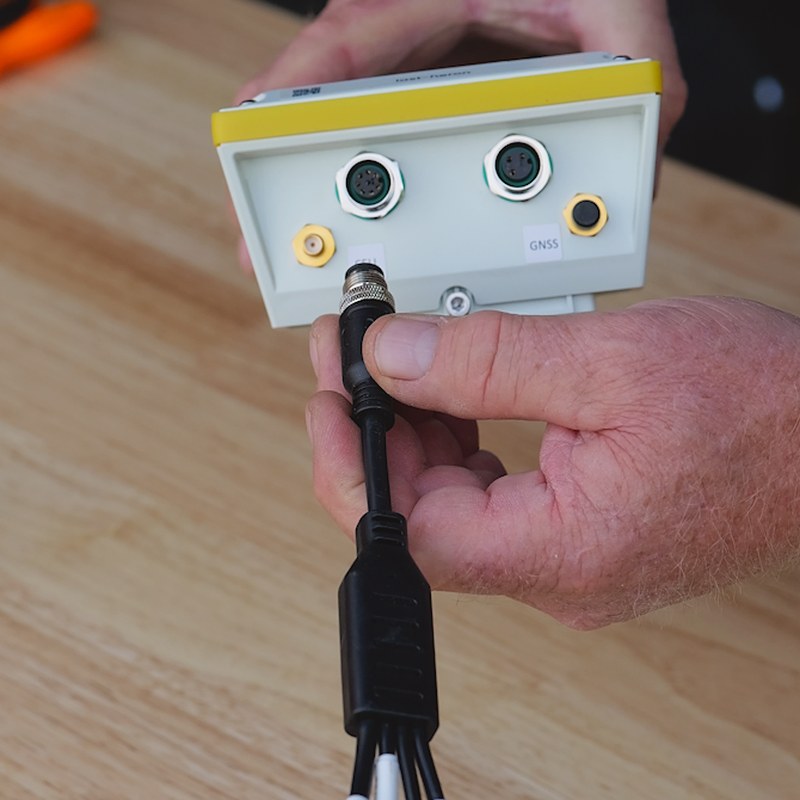
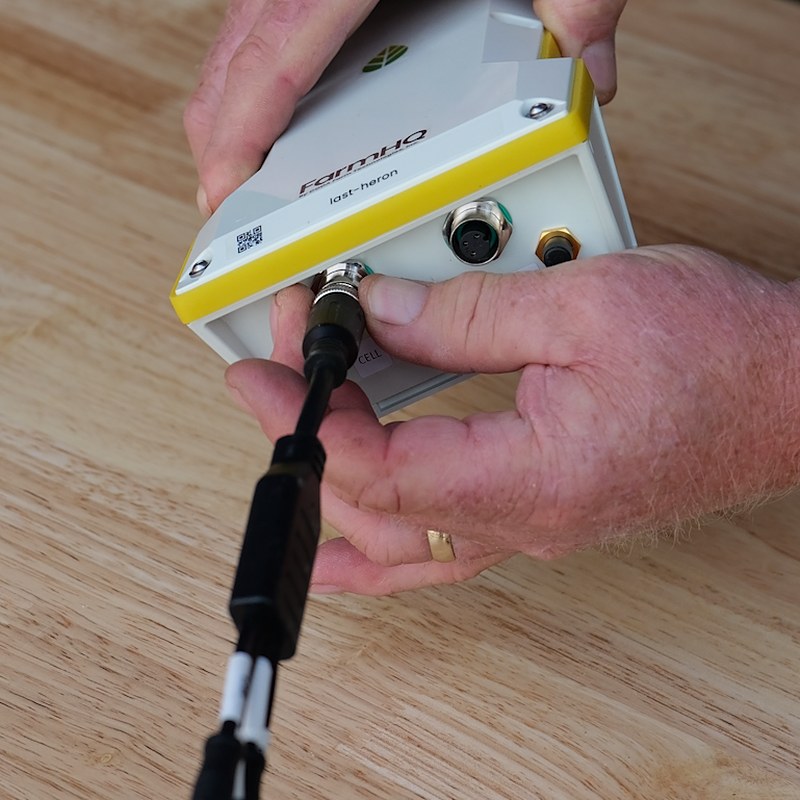
Connect the main harness to the harness port on the bottom of the device.
- Line up the harness key.Match the key on the harness connector to the harness port.
- Tighten the nut.Screw the nut in until it's snug.
Power Cable
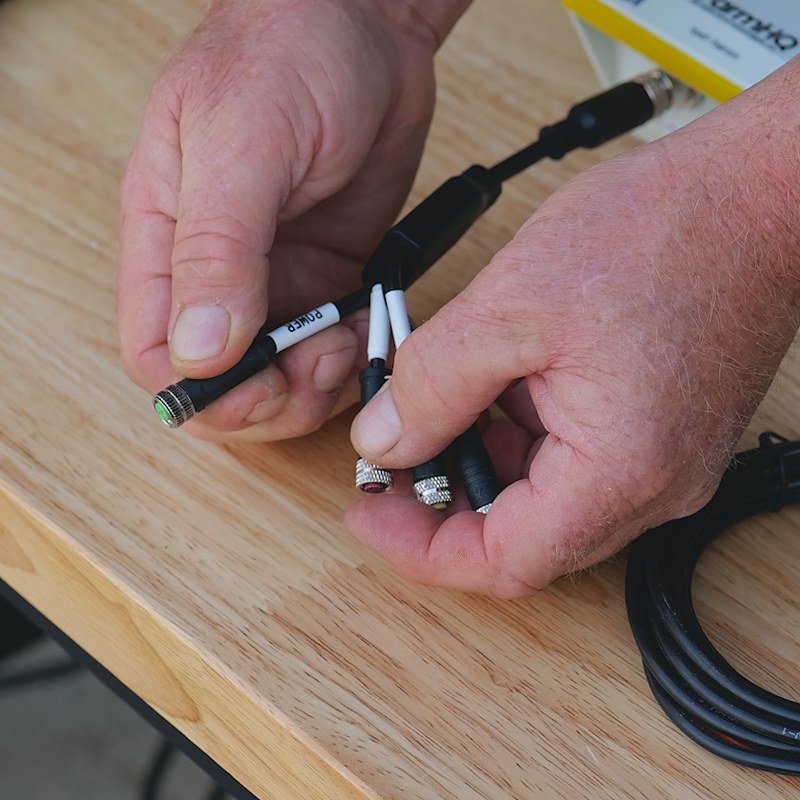
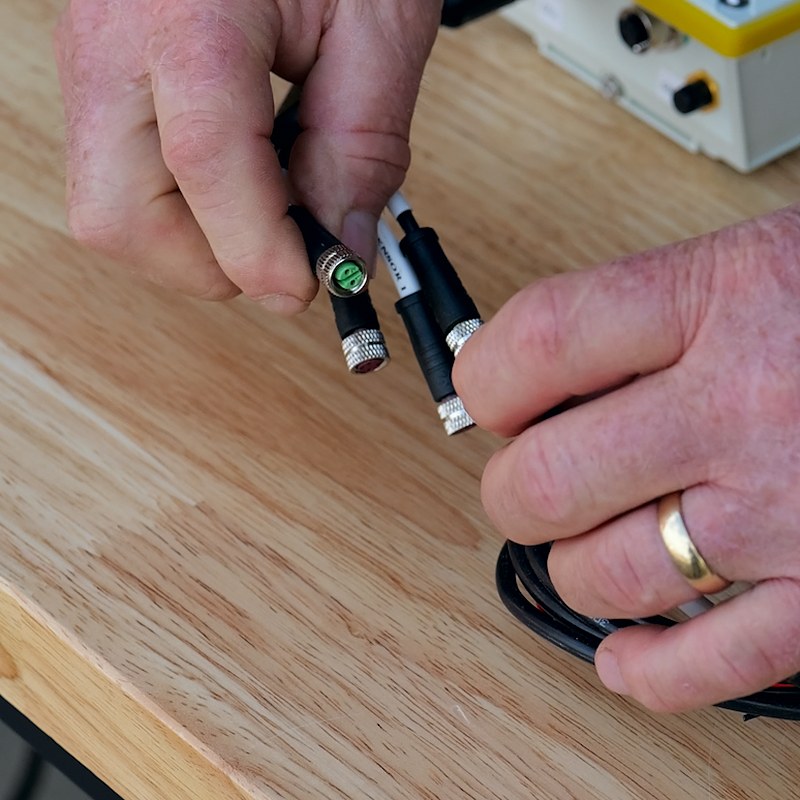
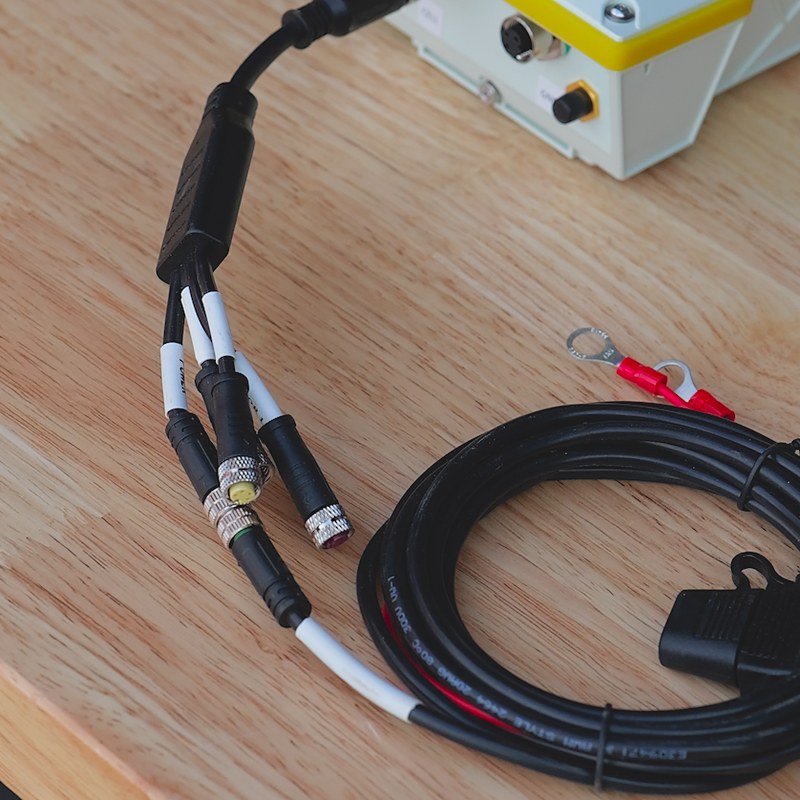
With the harness on, the power cable is the first thing to hook up. It's color-coded green and labeled “Power.”
- Find the power cable.It's green and labeled “Power.”
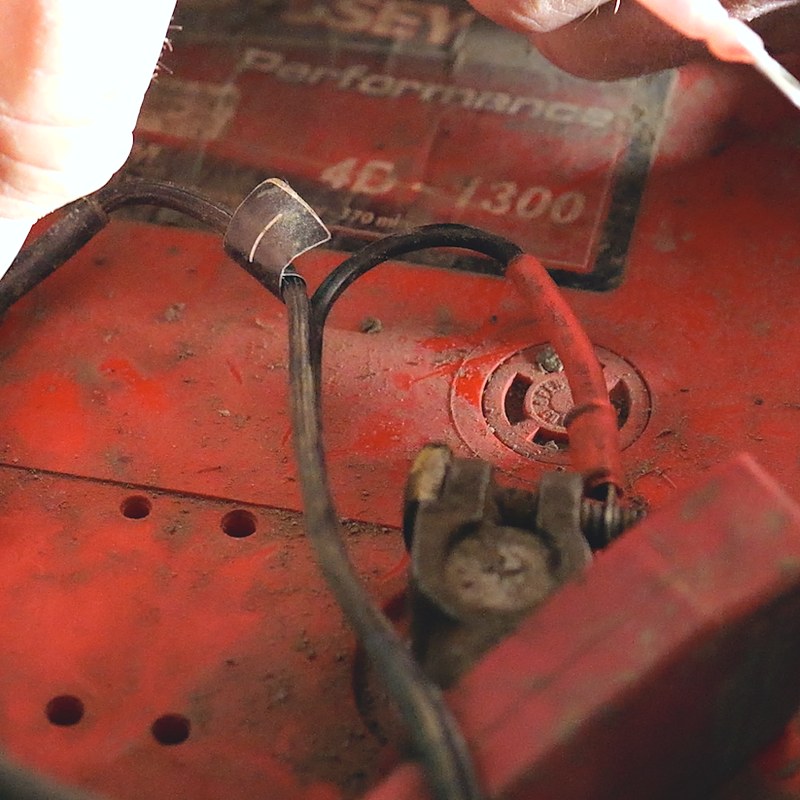
- Connect it to your power source (8–48 VDC).Most installs connect to a battery using the ring terminals already on the cable. For other power sources, cut off the terminals, strip the wires, and connect them.
- Line up the key.Match the key on the power connector to the harness.
- Twist the connectors together.Turn until the connection is secure.
Pressure Transducer
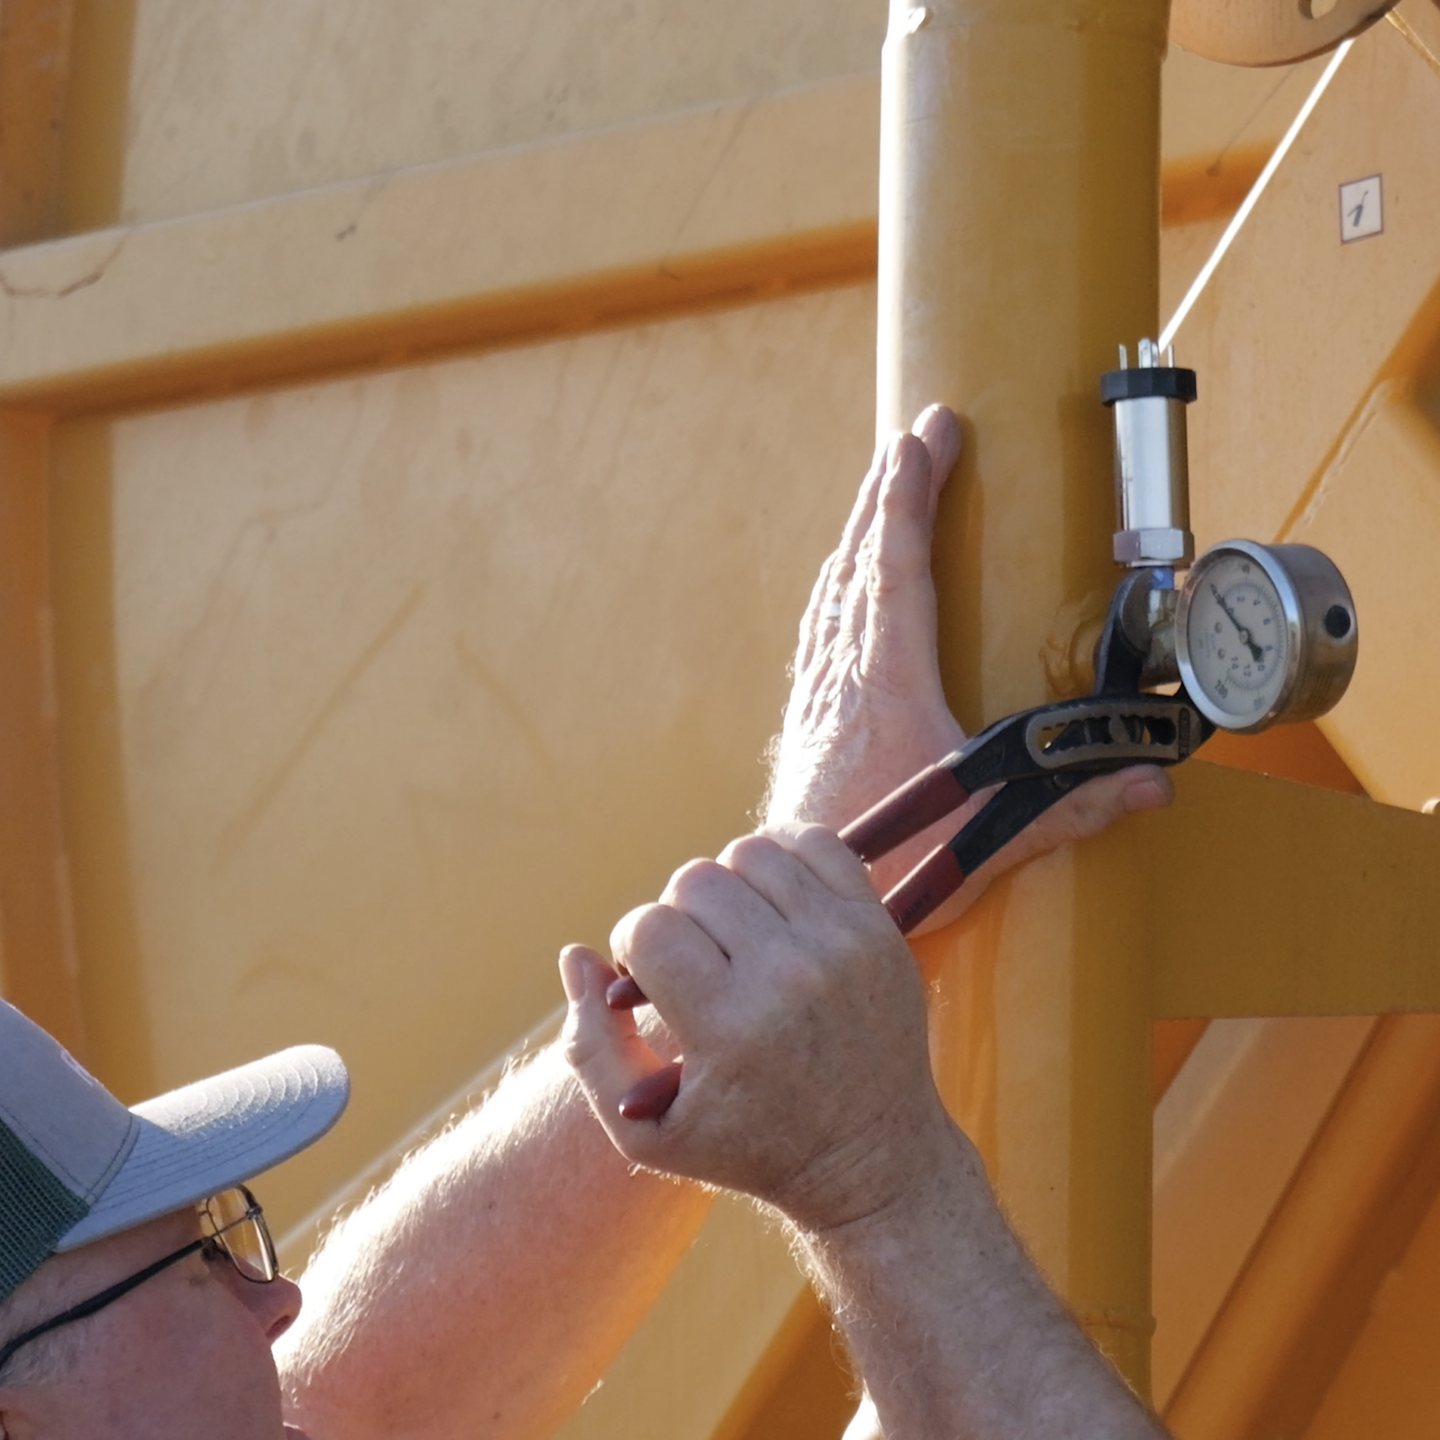
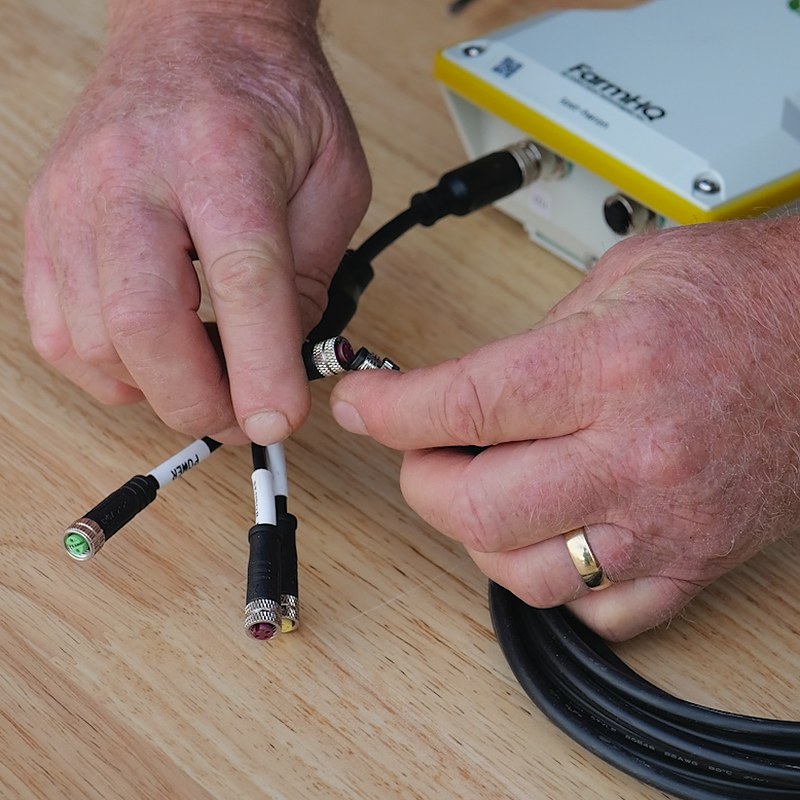
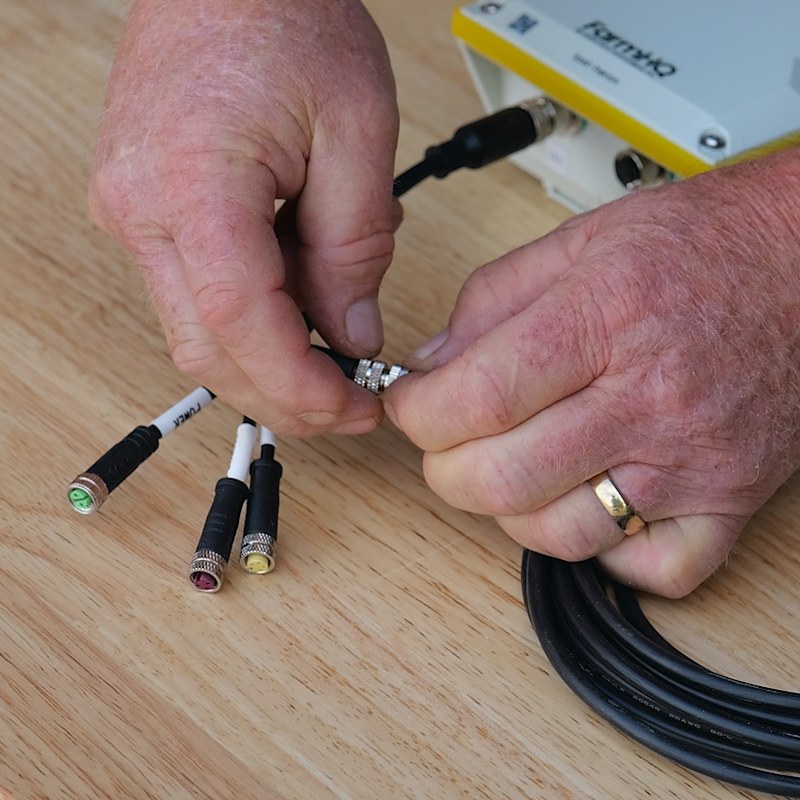
The pressure transducer monitors water pressure. Mount it first, then connect it to sensor port 2.
- Mount the pressure transducer.Install it in the appropriate place on your equipment.
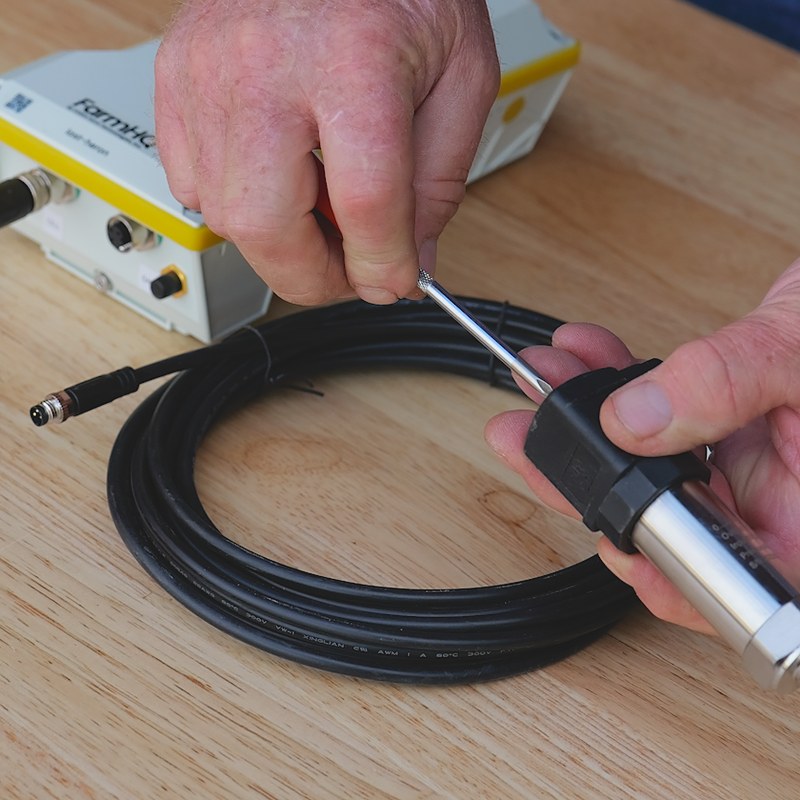
- Install the connector.Fit the connector onto the transducer and tighten the screw.
- Plug into sensor port 2.These connectors are keyed, but some manufacturers leave the key out. Make sure the key, or the pins, line up before connecting.
- Tighten the nut.Screw the nut in until it's snug.
Speed Sensor
Used on reels, pivots, and linears. Magnets mounted on the equipment pass a magnetic sensor to measure speed.
- Install the magnets.Space them evenly so the sensor can pick each one up.⚠ These magnets are very strong. Handle with care.
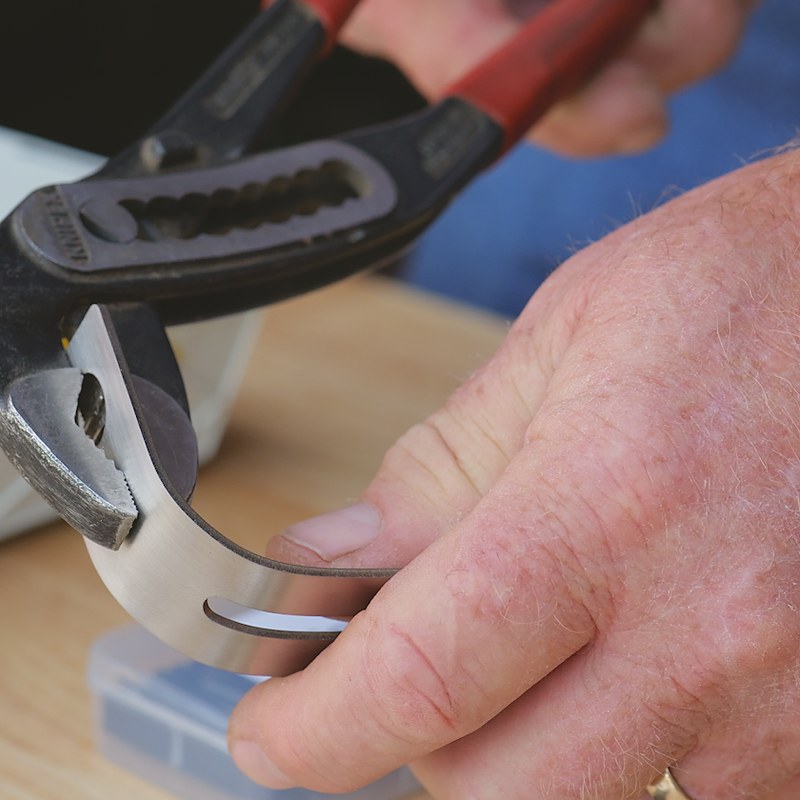
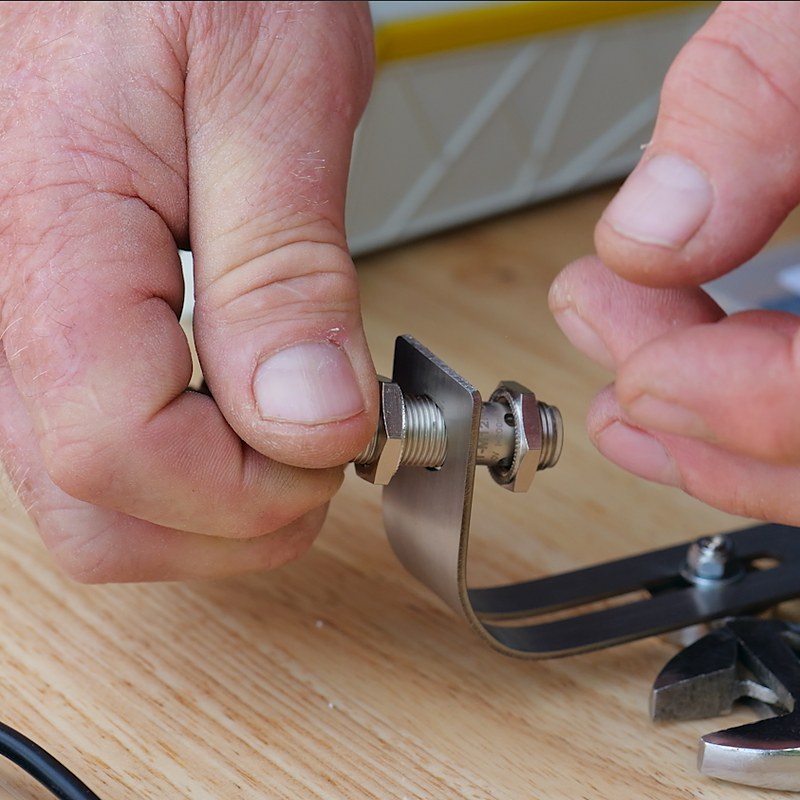
- Bend the sensor mount 90°.This works for most applications. Tight spaces may need a custom bend.
- Mount the magnetic sensor to the bracket.
- Set the gap.Position the sensor about 1 inch, or slightly more, from the magnets.
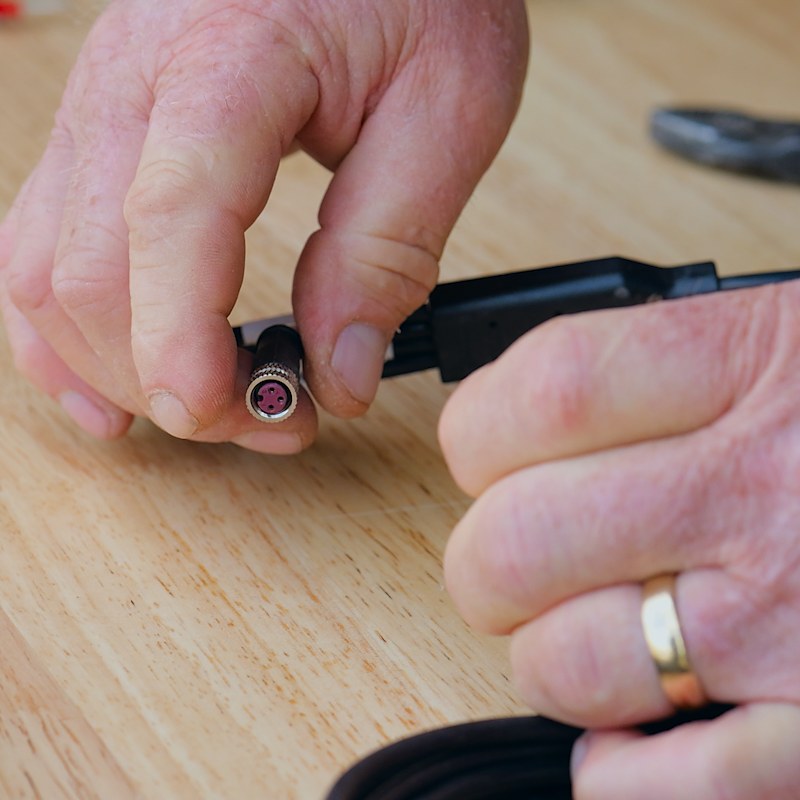
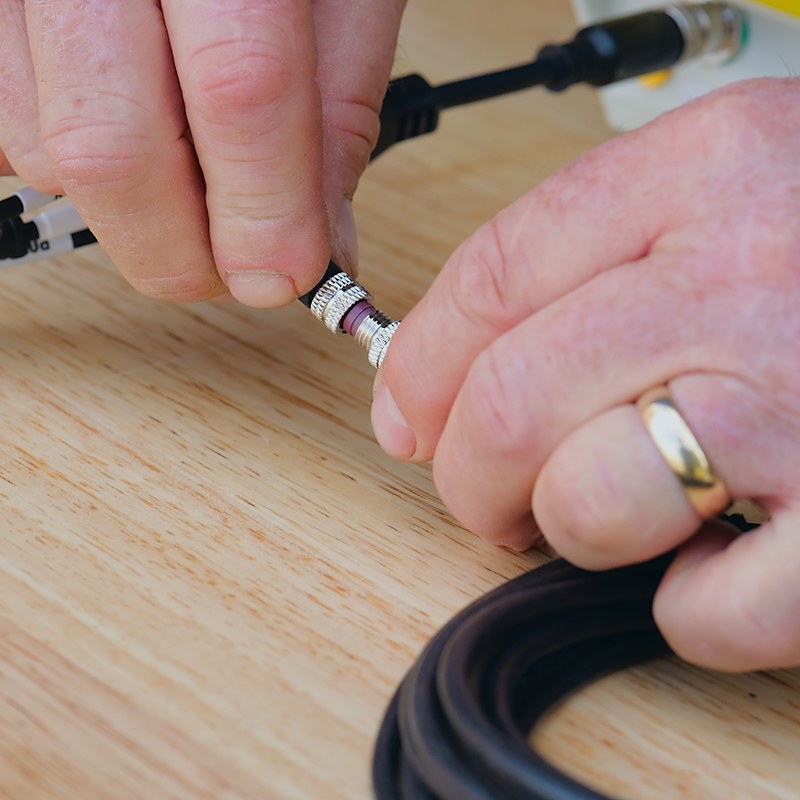
- Plug into the other sensor port.These connectors are keyed, but some manufacturers leave the key out. Make sure the key, or the pins, line up before connecting.
- Tighten the nut.Screw the nut in until it's snug.
AltReels with booster pumps
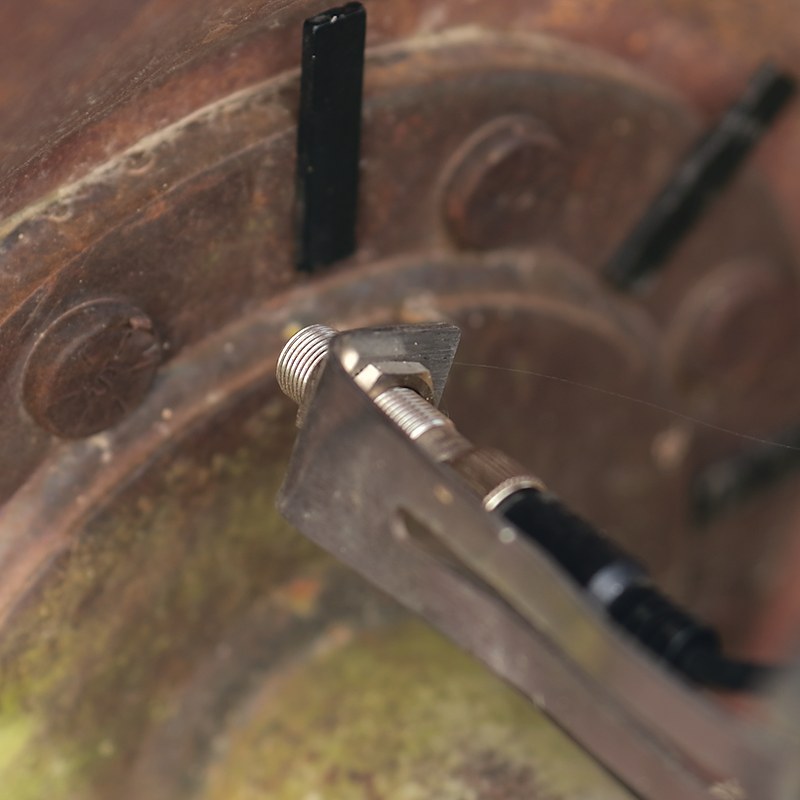
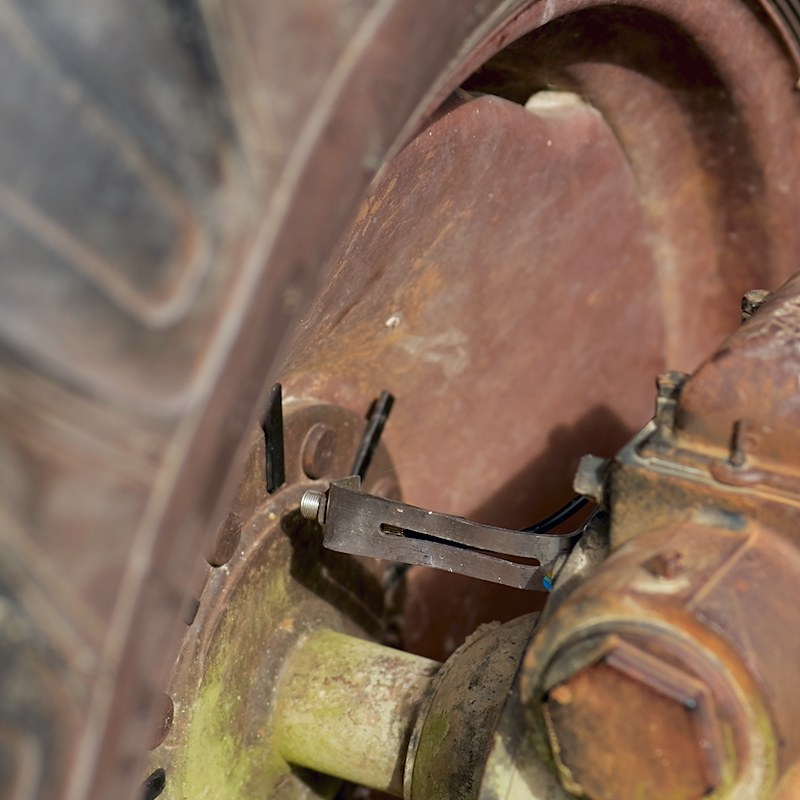
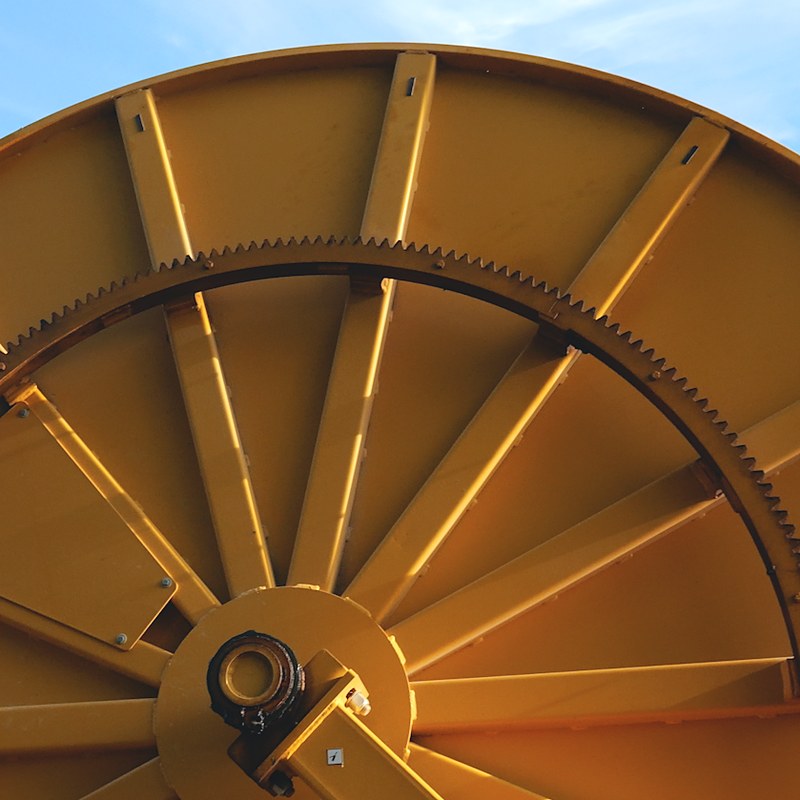
On some reels with booster pumps, mount the sensor so it reads the magnets on the OEM hose roller, shown here.
- Twist the mount 90°.Then give it a slight bend.
- Install the sensor in the mount.
- Mount it over the hose roller.Position the sensor so it almost touches the roller.
Speed Reference Cable (TC-4)
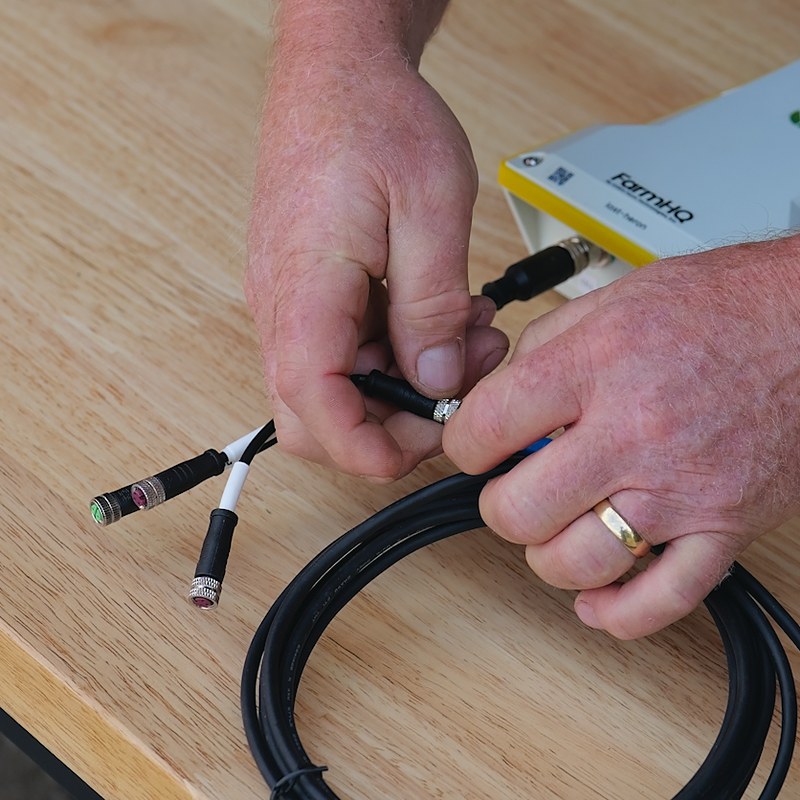
On TC-4 devices, the speed reference cable connects to your variable frequency drive (VFD) so FarmHQ can set pump speed.
- Connect to the CAN cable.Line up the key on the cable labeled “CAN” and tighten the nut.
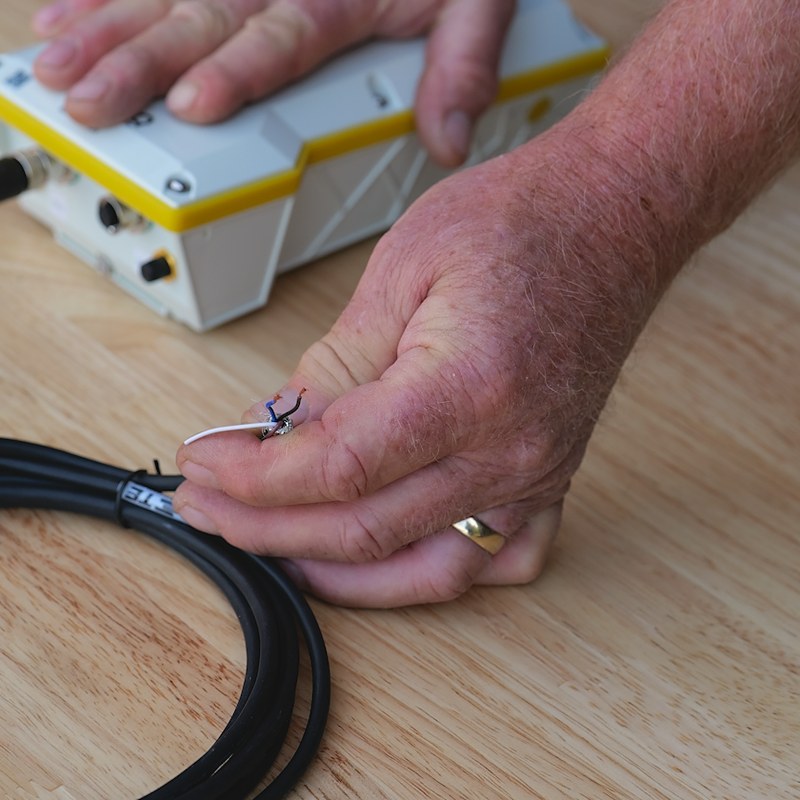
- Wire it to your VFD.Connect the black and blue wires to the appropriate analog input on the drive.
Switch Cable
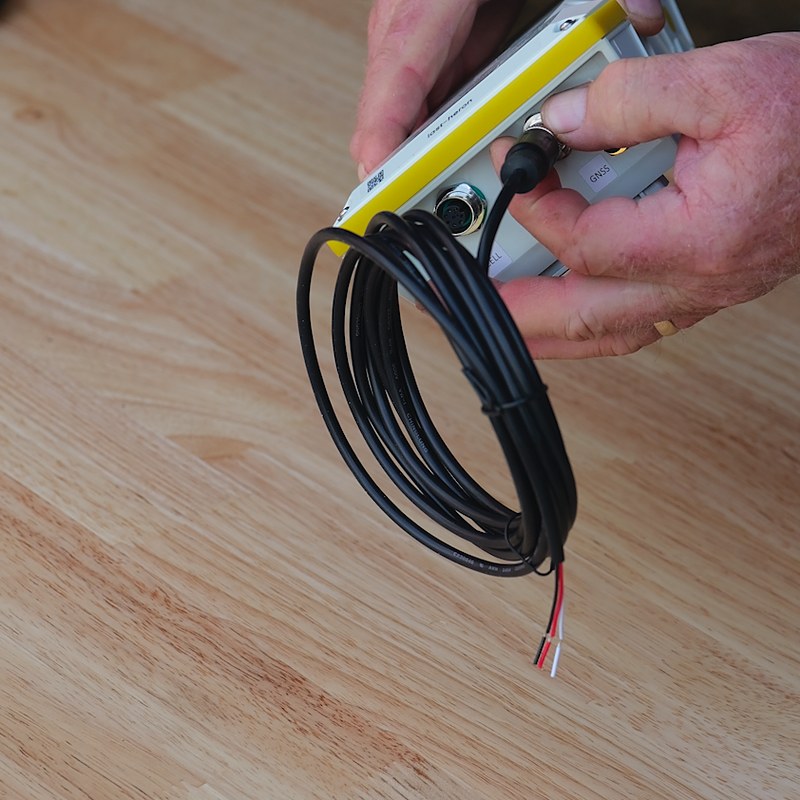
An internal relay inside the device lets you turn pumps on and off through the switch cable.
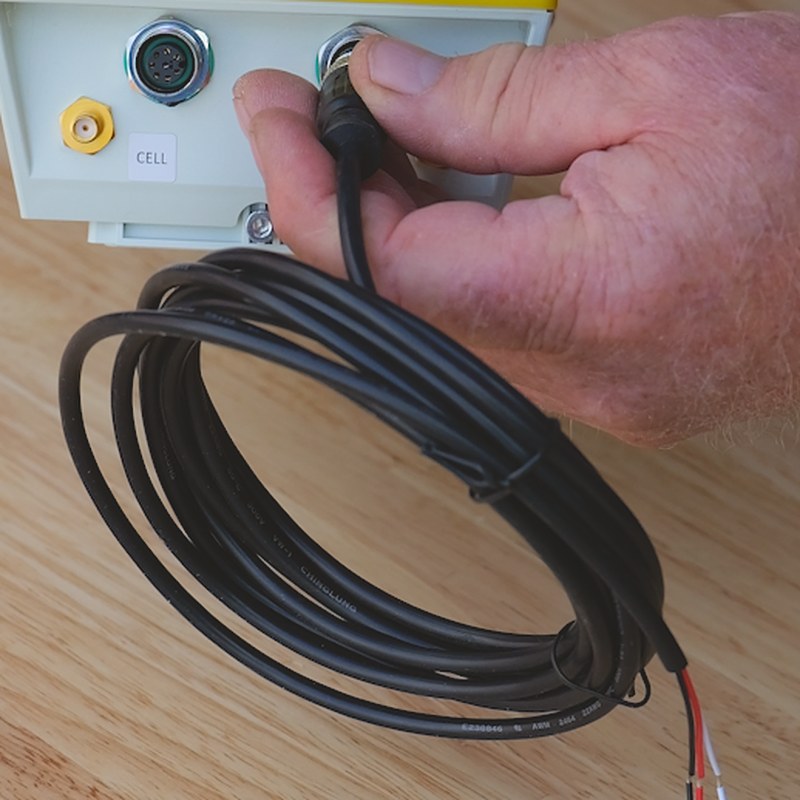
- Line up the key.Match the key to the switch cable port.
- Screw the nut in.
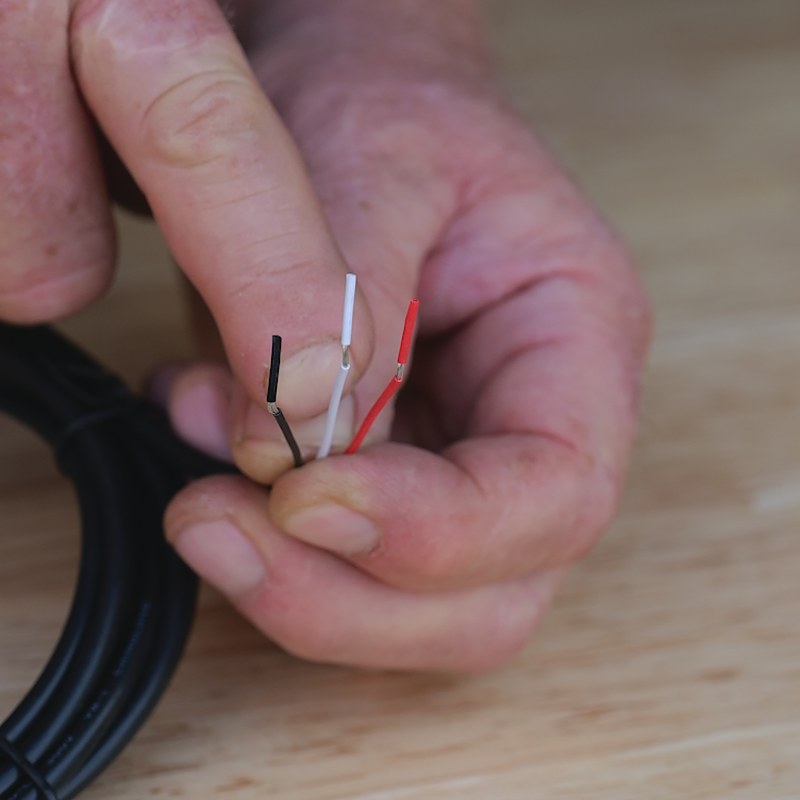
- Wire it to your equipment.Connect to the appropriate place on your pump controls:Black: CommonRed: Normally openWhite: Normally closed⚠ Do NOT connect the white wire to Neutral.
Questions about your install?
Contact SupportMore guides and manuals
Support Center